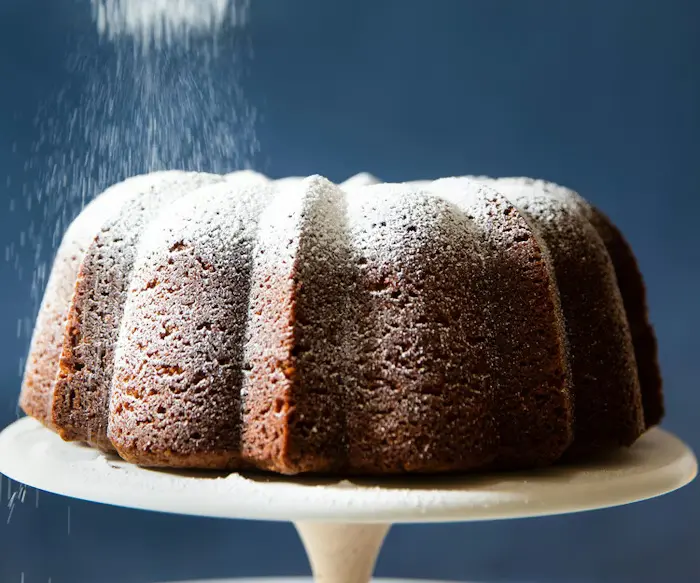
Shared by Zoe Kanan
This recipe was shared by Zoe Kanan. Read more about her family in "A Texas-Born Baker Blends Her French Pastry Training With Jewish Tradition" and try her recipe for easy challah.
This recipe calls for a sourdough starter which takes around 5 days to develop. Zoe recommends this resource as the best guide for getting your own starter going.
Time:
Day 1: 20 minutes active time, 1 hour non-active resting time + Overnight
Day 2: 1 hour 15 minutes active time + 2 hours non-active proofing time + 45 minutes baking + 30 minutes cooling
Mix the dough: Place the sourdough starter, 1 egg, 2 egg yolks, honey, oil, and water in the bowl of a stand mixer fitted with the bread hook attachment. To the wet ingredients, add the all purpose flour, whole wheat flour, salt, and active dry yeast. Mix the dough on 2nd speed for 3 minutes and then increase to 4th speed for 5 minutes (if you have a mixer other than a Kitchen Aid, mix for 3 minutes on slow speed and 5 minutes on medium speed). The dough will come together and be relatively smooth but still quite slack and tacky.
Lightly grease the interior surface and inner lid of a very large plastic container with nonstick spray or vegetable oil. The container should be at least three times the size of the dough to accommodate for growth (it will be difficult to find a regular Tupperware container that meets this requirement, we recommend something like this. Alternatively, your largest wide mouthed bowl, greased and covered with plastic wrap could work as well). Use a bowl scraper or spatula to transfer the dough to your chosen container, cover and let sit at room temperature for one hour. After the hour, flip the dough upside down *within* the container to redistribute yeast activity. Cover and place in the refrigerator to rest overnight.
Shape the dough: By the next day, the dough should have nearly tripled in volume. Around 4 ½ hours before you plan to serve the challah, lightly dust a clean work surface with flour. Unmold the dough onto the floured surface with a firm “whack” by flipping the container upside down with some gusto. Divide the dough into 12 even portions (80 grams each if you have a kitchen scale and want to be very precise).
Spray your palm lightly with nonstick spray and grab the first portion of dough. Flatten it firmly against the table forming a rectangle about the size of a post-it note. Fold the flattened piece of dough in half lengthwise (bringing the two longer edges of the rectangle together) and then in half again to form a short and tight log about 4-5” long. The goal is a tight roll without air pockets. Using both hands, roll the log back and forth to form a 12” long strand, pressing lightly at the ends to taper the tips but maintaining a round, even belly in the middle. Lightly dust the strand with flour when you are finished rolling to keep it from sticking to the table. Repeat with the remaining 11 pieces of dough
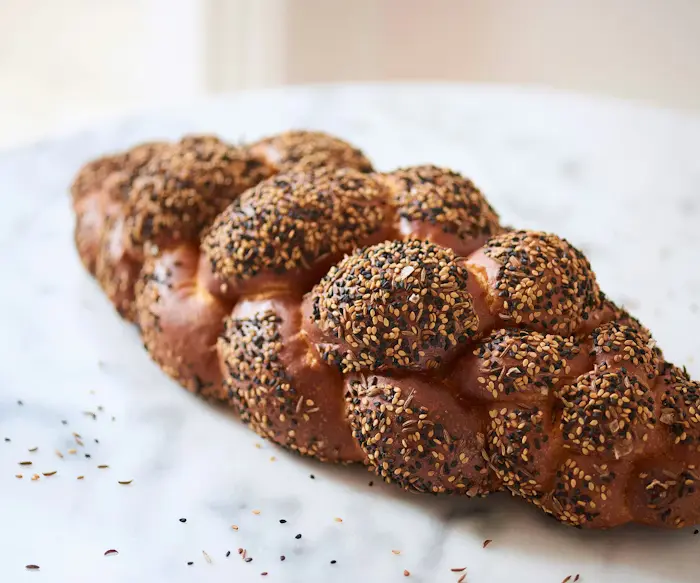
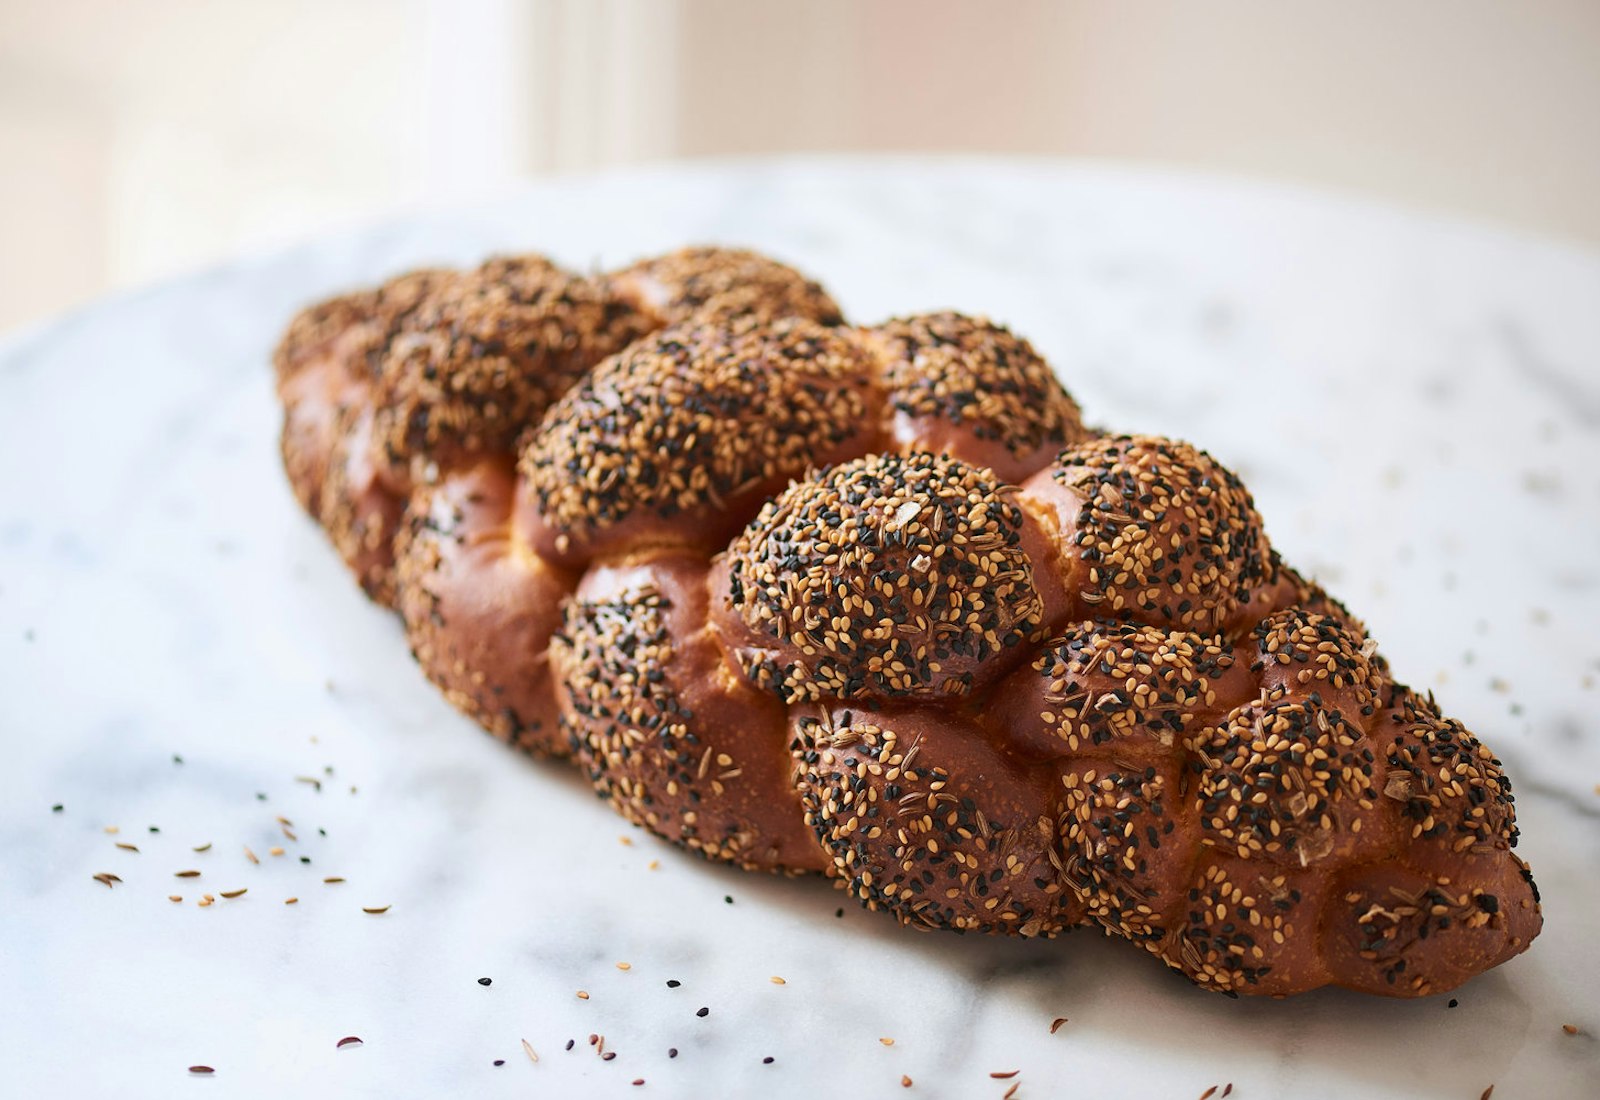
Braid: Arrange 6 of the strands parallel to one another and pinch the tops together. Cross the outside right strand all the way to the left and up. Cross the outside left strand all the way to the right and up. Push those two strands upward, making a ‘V” above the bottom 4 strands. Divide the bottom strands into 2 pairs and you are ready to begin braiding. Bring the upper left strand down to the middle between the pairs. Cross the lower far right strand up to replace the ‘V’. Pair up the new bottom strands. Bring the upper right strand down to the middle between the pairs. Cross the lower far left strand up to replace the ‘V’. Pair up the new bottom strands. Repeat this set of motions until your strands run out, pinching and sealing off the ends. (Note: Zoe finds this video demonstration of braiding to be very helpful. Braiding begins at 1:43). Repeat with the second loaf.
Seed: In a medium bowl, mix the white sesame seeds, black sesame seeds, nigella seeds, caraway seeds, and Maldon salt until combined. Spread the seed mixture out on a platter, baking dish, or baking sheet that is large enough to accommodate the length and width of the braided challahs.
Place the egg in a small plastic or glass container with a lid and sprinkle with two finger pinches of salt. Place the lid on the container and shake vigorously until the egg is combined, about 10 seconds. This method will make a thin and fluid egg wash that will easily coat the nooks and crannies of the braid.
Line two baking sheets with parchment paper and coat lightly with nonstick spray. Use a pastry brush to thoroughly paint egg wash over the entire exterior of the braid. Gently tip the braided challah upside down and dip into the seed mixture, rocking back and forth to coat the top and sides. Place the coated braid right side up onto the prepared sheet tray. Repeat with second braid.
Proof: Set the loaves in a warm, draft free spot to proof until the loaves have roughly doubled in size. This will take approximately 2 hours, but could take anywhere from 1 ½ - 2 ½ hours depending on the temperature of your kitchen. Test to see if they are ready to bake by gently pressing with your finger. If the indentation holds and doesn’t fill back in again your challah is ready to go into the oven. If unsure whether they are fully proofed, err on the side of giving them a little more time. A nice, thorough proofing is key to feathery light challah.
About 1 ½ hours into the proofing time, prepare the oven. Position the oven racks at the upper-middle and lower-middle settings and preheat the oven to 400°F.
Bake: When ready, place the loaves into the preheated oven and bake for 30-40 minutes, rotating the pans from top to bottom halfway through baking, until deeply golden and fragrant. (Baker’s tip: if you have a digital kitchen thermometer, the ideal interior temperature for doneness is 195°F).
Carefully transfer the hot loaves directly to a cooling rack and let cool for at least 30 minutes before digging in. This allows the structure of the bread time to set. Enjoy!