Shared by Uri Scheft
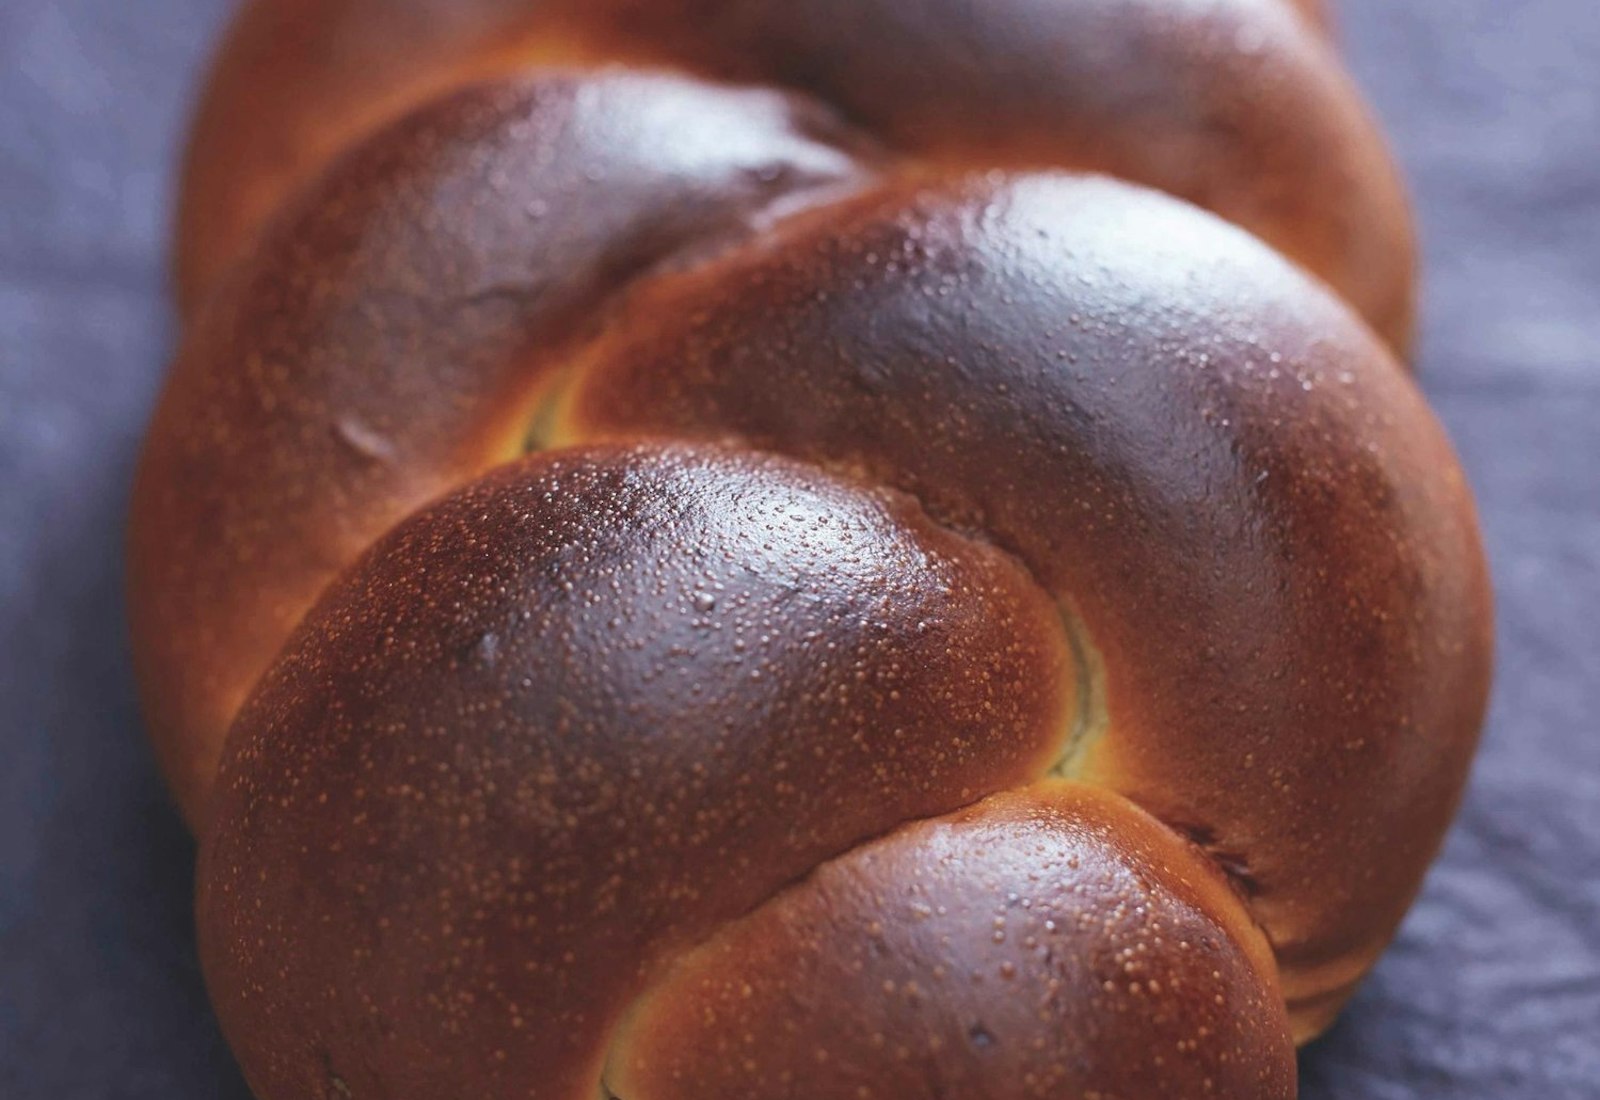
This classic challah recipe, enriched with eggs, oil and sugar, was shared by baker Uri Scheft. Read more about his family in "An Israeli Baker Finds His Danish Roots."
Make the dough: Pour the cool water into the bowl of a stand mixer fitted with the bread hook. Crumble the yeast into the water and use your fingers to rub and dissolve it; if using active dry yeast, whisk the yeast into the water. Add the flour, eggs, sugar, salt, and oil.
Mix the dough on low speed to combine the ingredients, stopping the mixer if the dough climbs up the hook or if you need to work in dry ingredients that have settled on the bottom of the bowl. Scrape the bottom and sides of the bowl as needed. It should take about 2 minutes for the dough to come together. If there are lots of dry bits in the bottom of the bowl that just aren’t getting worked in, add a tablespoon or two of water. On the other hand, if the dough looks softer, add a few pinches of flour.
Note: Eventually you’ll be able to feel the dough and know if you need to add water or flour; it’s always better to adjust the ratios when the dough is first coming together at the beginning of mixing rather than wait until the end of the kneading process, since it takes longer for ingredient additions to get worked into the dough mass at this later point and you risk overworking the dough.
Increase the speed to medium and knead until a smooth dough forms, about 4 minutes. You want the dough to be a bit firm.
Stretch and fold the dough: Lightly dust your work surface with a little flour, and use a dough scraper to transfer the dough from the mixing bowl to the floured surface. Use your palms to push and tear the top of the dough away from you in one stroke, and then fold that section onto the middle of the dough. Give the dough a quarter turn and repeat the push/tear/fold process for about 1 minute. Then push and pull the dough against the work surface to round it into a ball.
Let the dough rise: Lightly dust a bowl with flour, add the dough, sprinkle just a little flour on top of the dough, and cover the bowl with plastic wrap. Set the bowl aside at room temperature until the dough has risen by about 70%, about 40 minutes (this will depend on how warm your room is—when the dough proofs in a warmer room it will take less time than in a cooler room).
Divide the dough: Use a plastic dough scraper to gently lift the dough out of the bowl and transfer it to a lightly floured work surface (take care not to press out the trapped gas in the dough). Gently pull the dough into a rectangular shape. Use a bench scraper or a chef’s knife to divide the dough into 3 equal horizontal strips (you can use a kitchen scale to weigh each piece if you want to be exact). Then divide each piece into 3 smaller equal parts crosswise so you end up with a total of 9 pieces.
Note: It is best not to have an overly floured work surface when rolling dough into cylinders, since the flour makes it hard for the dough to gain enough traction to be shaped into a rope.
Shape the dough: Set a piece of dough lengthwise on your work surface. Use the palm of your hand to flatten the dough into a flat rectangle; then fold the top portion over and use your palm to press the edge into the flat part of the dough. Fold and press 3 more times—the dough will end up as a cylinder about 7 inches long. Set this piece aside and repeat with the other 8 pieces.
Return to the first piece of dough and use both hands to roll the cylinder back and forth to form a long rope, pressing down lightly when you get to the ends of the rope so they are flattened. The rope should be about 14 inches long with tapered ends. Repeat with the remaining 8 cylinders. Lightly flour the long ropes (this allows for the strands of the braid to stay somewhat separate during baking; otherwise, they’d fuse together).
To make a 3-strand braided challah: Pinch the ends of 3 ropes together at the top (you can place a weight on top of the ends to hold them in place) and lightly flour the dough. Braid the dough, lifting each piece up and over so the braid is more stacked than it is long; you also want it to be fatter and taller in the middle, and more tapered at the ends. When you get to the end of the ropes and there is nothing left to braid, use your palm to press and seal the ends together. Repeat with the remaining 6 ropes, creating 3 braided challahs.
To make a key-shaped “Shlissel” challah: You can use your creativity to make whichever key-shape you wish. As a guideline, you can use one 3-strand braided challah as the long vertical section of a key. You can use the remaining dough to form a circular loop shape on the top of the key and pinch it to attach to the top of the vertical section, as well as 3 small horizontal notches on the bottom of the vertical piece of dough.
Place the challahs on parchment paper–lined rimmed sheet pans, cover them with a kitchen towel (or place them inside an unscented plastic bag), and set them aside in a warm, draft-free spot to rise until the loaves have doubled in volume, about 40 minutes (depending on how warm the room is).
Adjust the oven racks to the upper-middle and lower-middle positions and preheat the oven to 425°F.
Test the dough: Once the challah loaves have roughly doubled in size, do the press test: Press your finger lightly into the dough, remove it, and see if the depression fills in by half. If the depression fills back in quickly and completely, the dough needs more time to rise; if you press the dough and it slightly deflates, the dough has overproofed and will be heavier and less airy after baking.
Bake the loaves: Make the egg wash by mixing the egg, water, and salt together in a small bowl. Gently brush the entire surface of the loaves with egg wash, taking care not to let it pool in the creases of the braids. You want a nice thin coating. Generously sprinkle the loaves with the seeds.
Note: At the bakery, we dip the egg-washed dough facedown into a large tray of seeds and then roll it from side to side to heavily coat the bread. If you just sprinkle a few pinches over the top, it won’t look very generous or appealing after the bread has expanded and baked, so be generous with the seeds whether sprinkling or rolling.
Bake for 15 minutes. Rotate the bottom sheet pan to the top and the top sheet pan to the bottom (turning each sheet around as you go), and bake until the loaves are golden brown, about 10 minutes longer. Remove the loaves from the oven and set them aside to cool completely on the sheet pans.
Excerpted from Breaking Breads by Uri Scheft (Artisan Books). Copyright © 2016. Photographs by Con Poulos.