Shared by Bonnie Frumkin Morales
This recipe for cheese-filled vareniki from Portland-based chef Bonnie Frumkin Morales is a project that’s best approached with the help of a friend or loved one.
This recipe was shared by Bonnie Frumkin Morales. Read more about her family in "The Russian Dumplings to Fall In Love Over."
Make the filling: place the farmer’s cheese, egg, kefir, parmesan, flour, and salt in a food processor. Process for several minutes, scraping down the bowl a few times, until the mixture is very, very smooth. The cheese has some graininess, but if you keep processing, it will break down to a warm, smooth, liquidy mixture. The saltiness of the filling will depend on the saltiness of your farmer cheese. Taste for salt at this point and add up to an additional ½ teaspoon to taste.
Once you’ve reached this nice, smooth result, transfer the mixture to a covered container, and stir in the chives. The mixture will be thick but runny (don’t worry!). Refrigerate for a minimum of 6 hours, or overnight for best results. By the next day, the filling will have thickened to the texture of a sticky whipped cream cheese or mascarpone. Keep refrigerated until ready to assemble.
Make the dough: In the bowl of a stand mixer fitted with a dough hook, mix together the flour and salt. Add the egg, then slowly drizzle in the water. Mix until a dough forms, then knead for 10 minutes, until the dough comes together into a smooth, elastic ball. If you don’t have a mixer, you can do this by hand, but knead for 20 minutes. (And be prepared to sweat!) Wrap the dough in plastic wrap or place in a covered container, and let rest at room temperature for at least 1 hour.
For Assembly: Grab a small dish of water and a rimmed baking sheet dusted with flour. Take one-quarter of the dough (leaving the rest lightly covered with a dish towel so it doesn’t dry out), and roll it out on a lightly floured countertop until it’s the thickness of fresh pasta sheets, about 1/16” inch —just shy of being transparent.
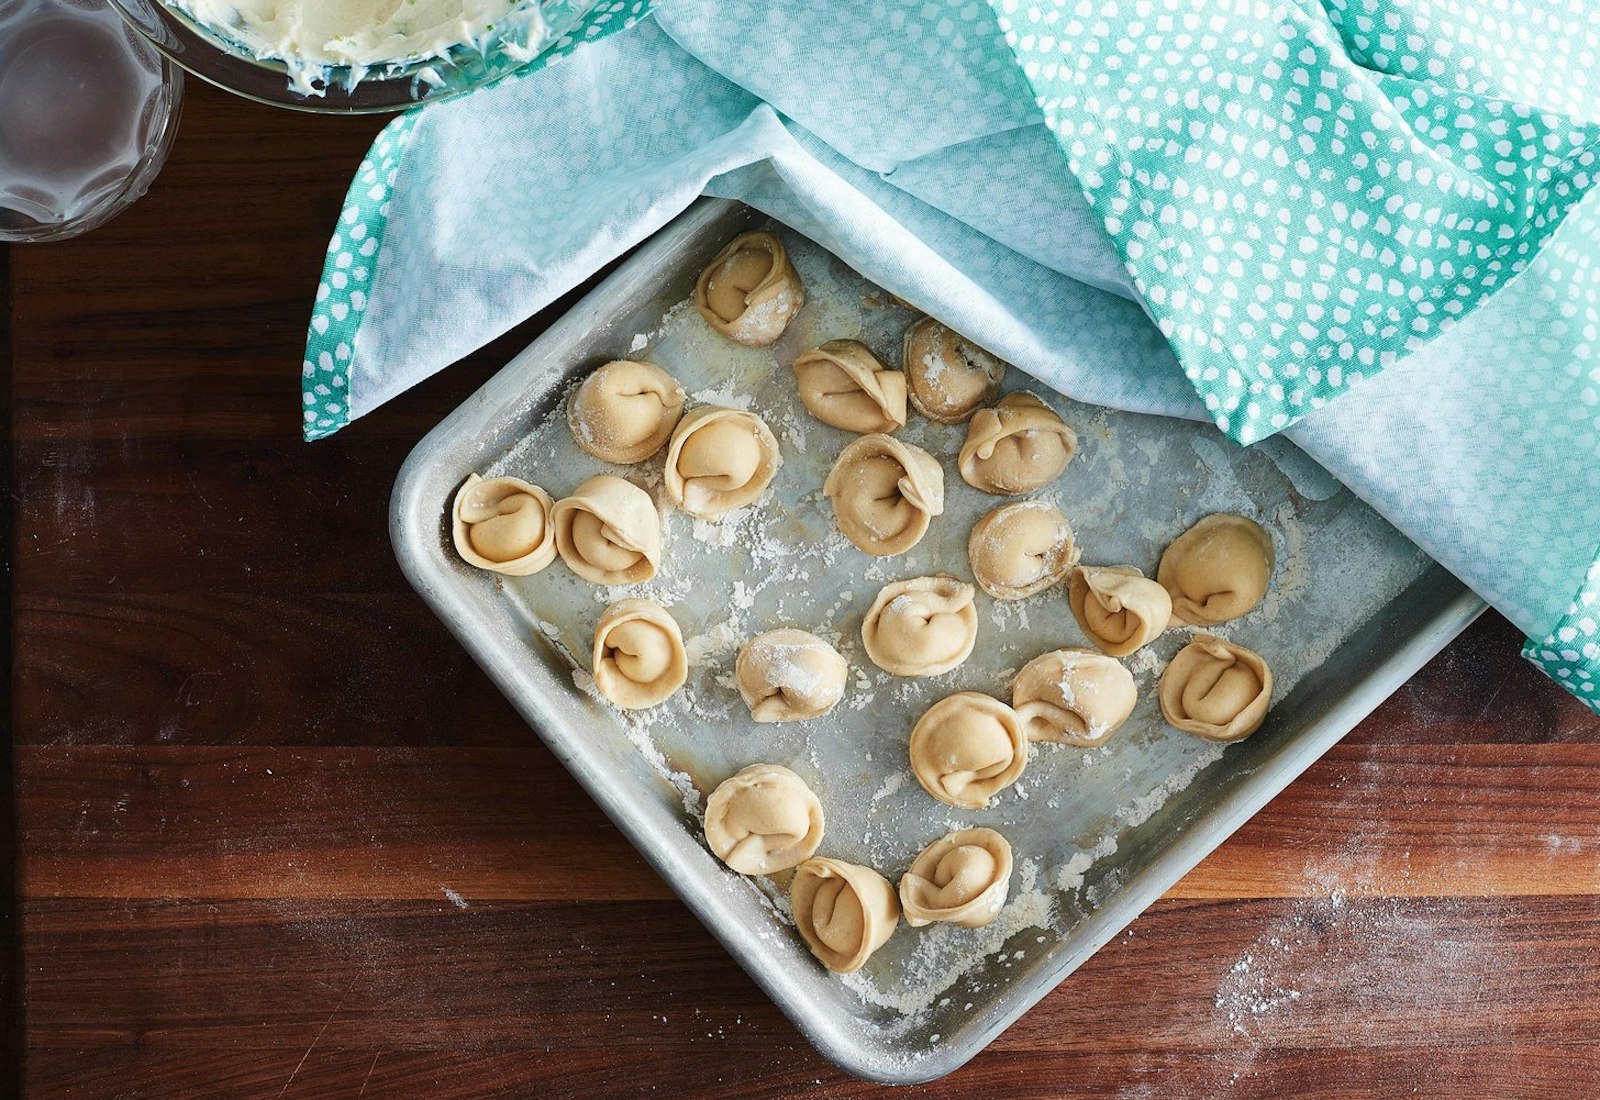
Take a 2-inch round cutter (or a drinking glass), and cut out rounds of dough. Using two small spoons fill each round of dough with a generous blob of filling—about 2 teaspoons (you can also use a pastry bag here). Using your finger, brush the edges of the dough with water, then fold the round into a half-circle, pressing the edges to seal. Take the edges and pull them to each other, pinching to seal in a tortellini shape. As you shape a few dumplings, you’ll get a sense of how much filling you can stuff into each dumpling and still seal it. Transfer the shaped dumplings to your prepared baking sheet, and gather the scraps together back into a ball. Repeat with the remaining dough and filling, rerolling the scraps at the end after they’ve rested. At this point, the dumplings can be cooked, or frozen for future use (freeze on the baking sheet, then transfer to a sealed plastic bag).
Cooking and Serving: Bring a large pot of salted water to a boil. Working in batches of ~15-20, add the dumplings to the pot (dumplings should fit comfortably in a single layer). Adjust the heat as needed to maintain a healthy-but-not-too-vigorous boil. While the dumplings cook, give a few good stirs, making sure to get your spoon all the way to the bottom of the pot to free any dumplings that may have stuck to the bottom.
Cook until the dumplings rise to the surface, and then for 1 more minute (this will take around 5 to 6 minutes, depending upon the heat of your burner and whether your dumplings are fresh or frozen). If you’re not certain whether they’re done, remove a dumpling, and cut it in half. The filling should be hot in the center; the dough evenly cooked through.
Cook until the dumplings rise to the surface, and then for 1 more minute (this will take around 5 to 6 minutes, depending upon the heat of your burner and whether your dumplings are fresh or frozen). If you’re not certain whether they’re done, remove a dumpling, and cut it in half. The filling should be hot in the center; the dough evenly cooked through.
When the dumplings are cooked, skim them out of the boiling water with a slotted spoon, shaking off the residual water. Place them in the prepared bowl, and toss—the softened butter and vinegar will come together with the heat of the dumpling and the motion of stirring, emulsifying into a sauce. Keep whirling them around in the bowl until all of the butter is incorporated.
Transfer the dressed dumplings to a dish, top with a healthy amount of sour cream or crème fraîche and fresh herbs. Serve immediately.
Repeat with the remaining dumplings (the full recipe makes about 5 batches so cook each batch separately in the same water) or freeze and save for later.